So I wanted to natively print from my Macbook at the TU Delft, but that turned out to be a bit more involved then the manual made it seem. The manual (here) suggests to just download the XEROX driver they supply and all is good. Unfortunately, after installation nothing really happens. No printer is added, nor are any drivers installed. So let’s dig a little deeper.
The XEROX ‘driver’ that is supplied is a regular .pkg file that can be extracted and it reveals some interesting bits of information. Let’s extract it. For the sake of tidiness, create a folder and extract the contents into it.
$ mkdir xerox-drivers
$ cd xeros-drivers
$ xar -xf ../XEROX-PRINTER-HTTPS-EN-MAC-1.0.pkg
Alright, now we have four files (Bom, Payload, PackageInfo and Scripts). Now one might assume Payload carries the important stuff, but no. Let’s extract the Scripts file instead.
$ cat Payload| gunzip -dc | cpio -iGuess what, a bunch of files appear.

Upon further inspection of the postinstall file, we see that the printer location is actually in that file, particularly lines 4-6,
SERVER=webprint.tudelft.nl
DISPLAYNAME=FollowMe
QUEUE="https://$SERVER/printers/$DISPLAYNAME/.printer"
as well as the printer type two lines further down
PPD="Xerox AltaLink C8035.gz"Very well then, we now know the printer type and location. What we also know is that this installer appears to be some kind of wrapper around the actual printer drivers from Xerox. Probably they wanted to make the installation process smoother for Mac users, but since the installation fails somewhere without throwing any kind of errors or warnings, it doesn’t do a great job. Anyway, let’s carry on.
Start of by installing the actual Xerox drivers – I figured the latest ones would be fine (4.19) – by simply opening the .pkg from Finder. Walk through the installation and skip the part where you can add a printer, it is unable to find it anyway.
Next up is adding the actual FollowMe printer. Although I don’t understand exactly why, the ‘add printer’ dialog from the ‘Systems Preferences’ doesn’t seem to get the job done.
What worked for me was doing it through the CUPS (underlying printer infrastructure on Mac/Linux) web interface. It has to be enabled first however:
$ cupsctl WebInterface=yesThen find it at http://localhost:631. Go to administration, log in with your user credentials (from your Macbook, if you’re unsure about your username do a quick whoami from a terminal ). Go to ‘Add printer’, choose internet printing via https. Type in the url ( https://webprint.tudelft.nl/printers/FollowMe/.printer ), continue and choose the proper drivers (Xerox C8035).
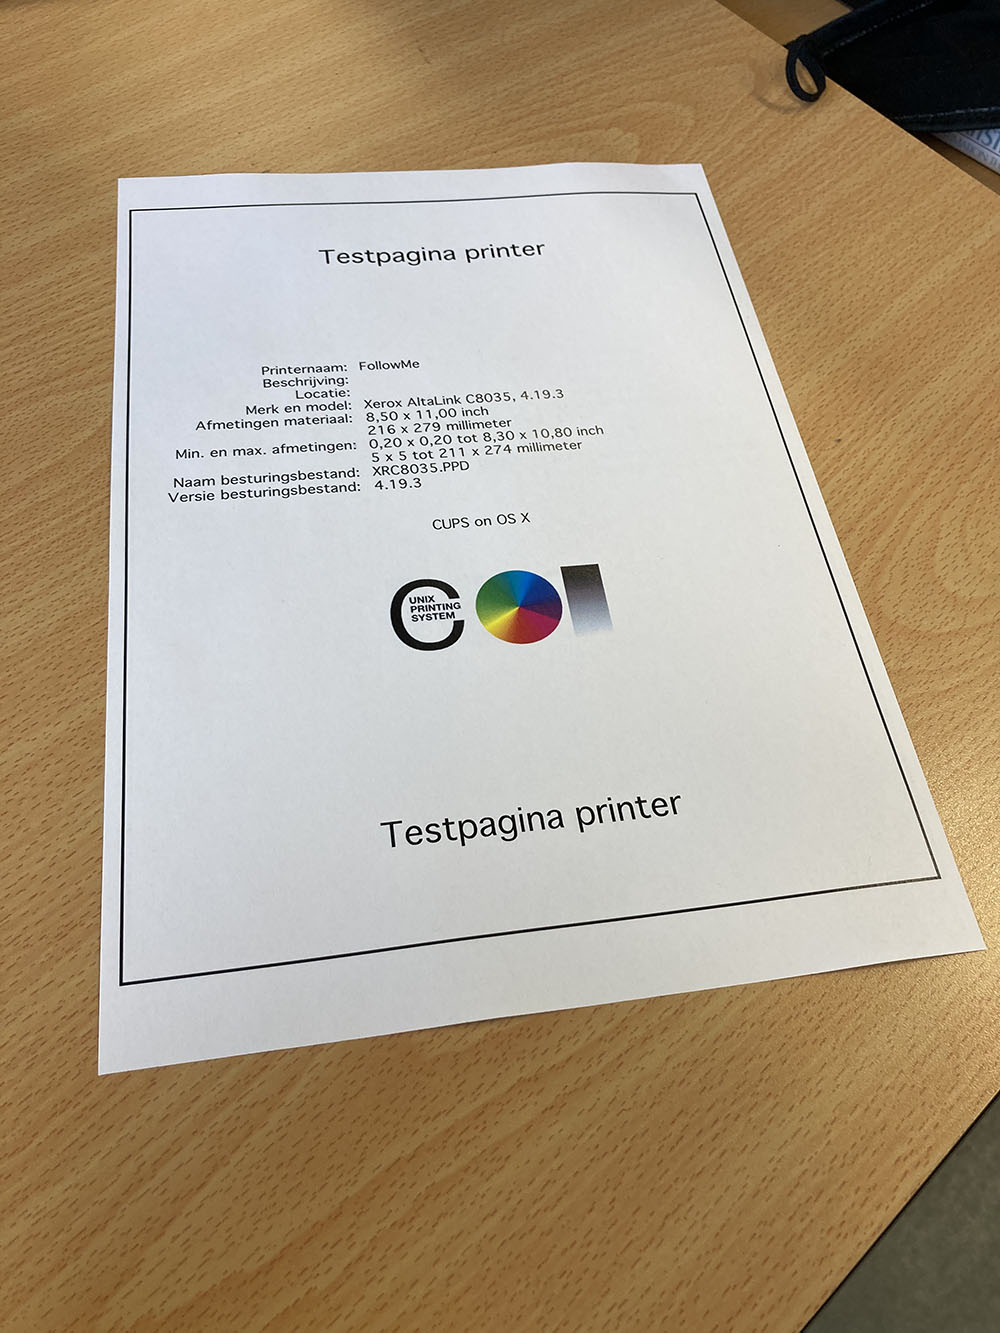
This will set it up. I then tried to print a test page from the CUPS interface, but it got stuck at status ‘Held for authentication’. Makes sense, since we haven’t logged in with our NetID yet. To overcome this, I went to the printer settings from ‘System preferences’, opened the queue for the FollowMe printer and hit the little retry button for the test document in the queue. This magically prompted me for my credentials, so I logged in with my NetID and guess what. I walked over to the printer and out came the CUPS test print.
A bit of a hassle, but we have native printing from my Macbook. Perfect.
